Just got a new iPhone? Congratulations! Now comes the most important step: transferring all your data — photos, contacts, messages, apps, settings — to your new device. Apple has made this process incredibly simple, with several methods depending on your situation. In this guide, we walk through every method step by step, with time estimates, requirements, and tips for a seamless transition.
📖 Read more: iPhone Privacy Settings: Complete Guide 2026
Before You Start: Preparation
Before you begin any transfer method, complete these steps:
1. Update your old iPhone: Go to Settings → General → Software Update and install the latest iOS version. This ensures compatibility and prevents transfer issues.
2. Create a backup: Even if you plan to use Quick Start, it's wise to create a complete backup first (iCloud or Mac/PC).
3. Remember your credentials: You'll need your Apple ID and the passcode from your old iPhone.
4. Charge both devices: You want at least 50% battery. Ideally, plug both devices in during the transfer.
⚠️ Important: If you use an Apple Watch, you must first unpair it from the old iPhone (this automatically creates a Watch backup) before transferring data.
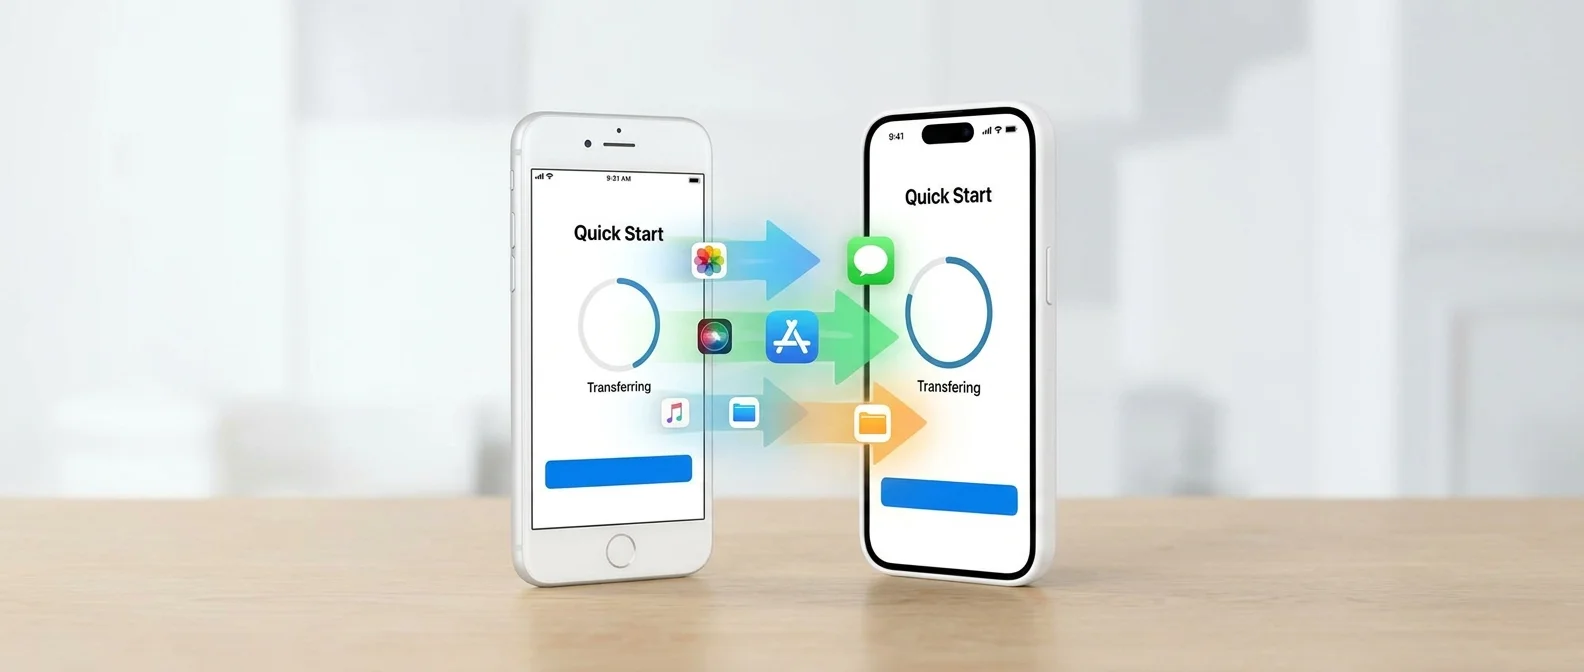
Method 1: Quick Start (Direct Transfer)
Quick Start is the simplest and often fastest method. It transfers data directly from iPhone to iPhone via Bluetooth and a temporary Wi-Fi network. It ties up both devices for 30-60 minutes (depending on data volume).
Quick Start Steps:
Step 1: Turn on your new iPhone and place it next to the old one.
Step 2: On the old iPhone, the “Set Up New iPhone” prompt will appear. Tap “Unlock to Continue” and then “Continue” to use the Apple ID.
Step 3: An animation will appear on the new iPhone. Scan it with the old iPhone's camera. When “Finish on New Device” appears, enter the old iPhone's passcode on the new one.
Step 4: Select “Transfer Directly from iPhone” on the data transfer screen. Wait for the transfer to complete.
⏱️ Time Estimate: For 32-64 GB of data: 20-30 minutes. For 128-256 GB: 45-75 minutes. For over 256 GB: 1-2 hours. Keep devices close together and plugged in.
Method 2: iCloud Backup & Restore
The iCloud method is ideal when you don't have the old iPhone nearby, or when you want the safest method (the backup stays in the cloud). Apple offers free temporary iCloud storage for 21 days for the transfer, even if you don't have enough space.
iCloud Transfer Steps:
Step 1: On the old iPhone: Settings → General → Transfer or Reset iPhone. Tap “Get Started” under “Prepare for New iPhone.”
Step 2: Tap “Turn on Backup to Transfer” and “Move All App Data with iCloud.” Wait for the backup to complete.
Step 3: On the new iPhone: Follow the setup instructions until the “Apps & Data” screen and select “Restore from iCloud Backup.”
Step 4: Sign in with your Apple ID and select the most recent backup. Wait for the restore to finish.
💰 iCloud Pricing: 5 GB free (plus 21 days temporary transfer storage). iCloud+ 50 GB: €0.99/month. iCloud+ 200 GB: €2.99/month. iCloud+ 2 TB: €9.99/month. iCloud+ 6 TB: €29.99/month. iCloud+ 12 TB: €59.99/month. Prices include VAT for Eurozone.
Method 3: Transfer via Mac or Windows PC
Using a Mac (Finder)
Step 1: Connect your old iPhone to the Mac with a cable.
Step 2: Open Finder and select the iPhone from the sidebar. Click “Back Up All Data” then “Back Up Now.”
Step 3: When complete, turn on the new iPhone, follow the setup until “Apps & Data” and select “Restore from Mac or PC.”
Using a Windows PC (iTunes)
Step 1: Download and install iTunes from the Microsoft Store.
📖 Read more: iPhone 17 Air: The Thinnest iPhone Apple Has Ever Made
Step 2: Connect the old iPhone, click Summary → This Computer → Back Up Now.
Step 3: On the new iPhone, select “Restore from Mac or PC” and follow the instructions.
🔒 Encrypted Backup: Enable “Encrypt Local Backup” to include passwords, health data, and Wi-Fi passwords in the backup. Without encryption, these are not transferred.
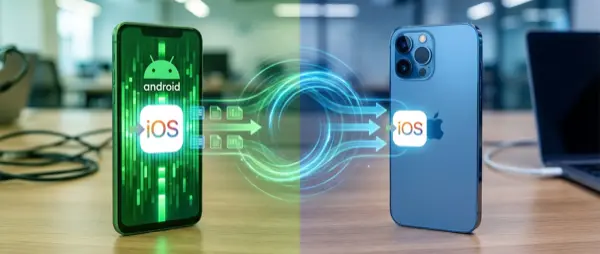
Method 4: Move to iOS (From Android)
If you're switching from Android, Apple offers the “Move to iOS” app that automatically transfers contacts, message history, photos, videos, web bookmarks, email accounts, and calendars.
Move to iOS Steps:
Step 1: On Android, download “Move to iOS” from the Google Play Store.
Step 2: On the new iPhone, during setup, select “Move Data from Android.”
Step 3: A code will appear on the iPhone. Enter it into the Move to iOS app on Android.
Step 4: Select what you want to transfer and wait for completion.
⏱️ Move to iOS Time Estimate: 15-45 minutes depending on volume. Keep both devices plugged in. Note: Apps not available on the App Store won't transfer. WhatsApp chats require a separate transfer through the WhatsApp app itself.
Common Problems & Solutions
"Not enough iCloud space": Take advantage of the 21-day temporary storage (Settings → General → Transfer or Reset → Get Started). If you need more time, you can request an additional 21 days.
"Transfer is stuck": Ensure both devices are plugged in, have Wi-Fi and Bluetooth enabled, and are close together. Don't use the devices during transfer.
"Missing apps": After transfer, apps download gradually from the App Store. This can take hours depending on the number of apps. Keep it connected to Wi-Fi.
"Requires newer iOS version": Update both devices to the latest version before transfer.
"Data transfer is the most critical step when switching iPhones. With proper preparation, it's a seamless process that takes just minutes."
— OnOff.gr Tech TeamAfter Transfer: What to Do
Once the transfer is complete, verify:
✅ Photos & Videos: Open the Photos app and confirm all photos are there.
✅ Contacts: Open Contacts and check numbers and names.
✅ Apps: Confirm all essential apps have downloaded (Wi-Fi required).
✅ Apple Watch: Pair your Watch with the new iPhone and restore the backup.
✅ Old iPhone: Once you're sure everything transferred, you can factory reset the old device.
🔧 Need help? If you're having trouble with data transfer, visit OnOff.gr in Thessaloniki. Our team helps you free of charge with the transfer process, repairs, or any iPhone issue.