

If you’re shooting video on your iPhone — whether for YouTube, TikTok, podcasts, or professional work — the built-in microphone won’t cut it. A wireless lavalier microphone dramatically improves your audio quality. Here are the best options for 2026, how to connect them, and what you really need.
📖 Read more: Action Mode iPhone: Stable Video Without a Gimbal
Why You Need an External Microphone
The iPhone’s built-in mic is fine for phone calls and voice memos, but for video recording it falls short. It picks up ambient noise, wind, room echo, and the further you move from the iPhone, the worse the audio gets. At 2-3 meters, your voice sounds distant and muffled.
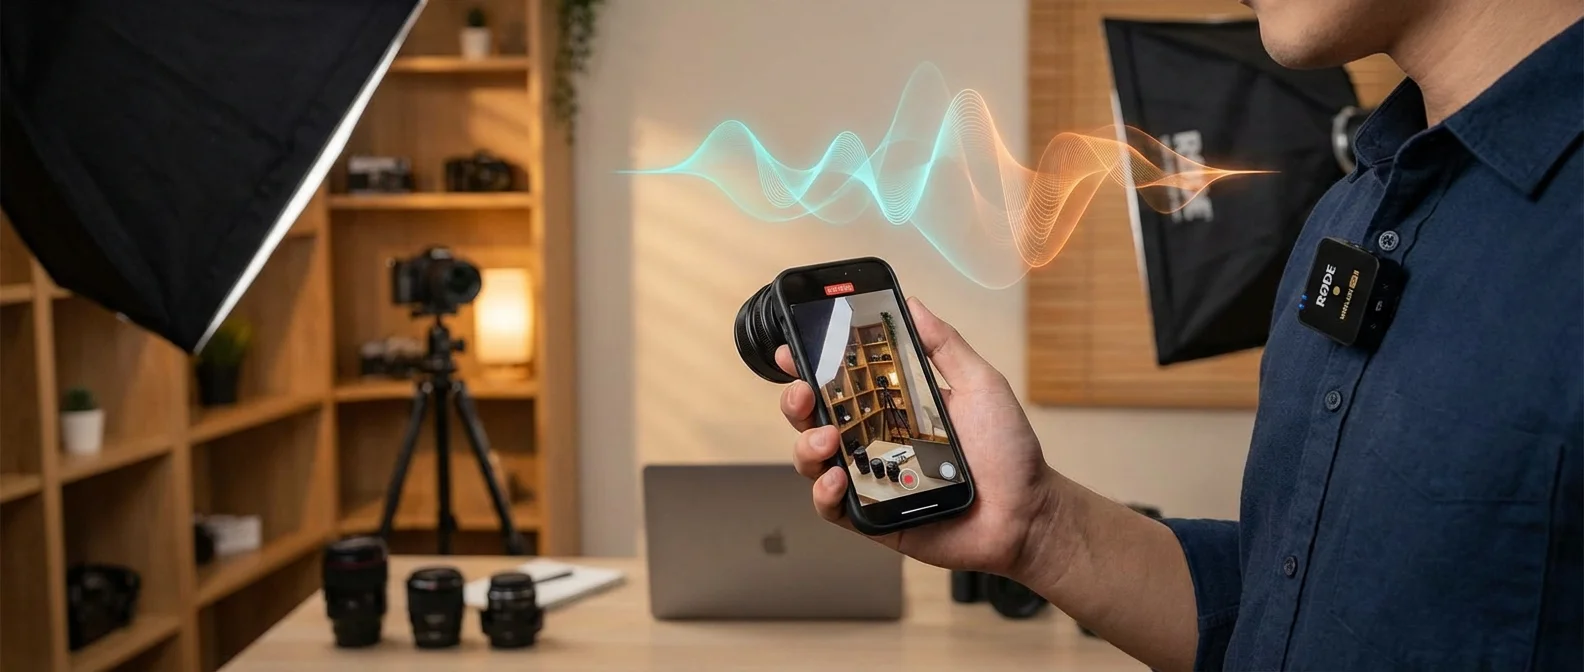
A wireless lavalier microphone solves all of these problems: it clips near your mouth (usually on a collar or lapel), transmits wirelessly to the iPhone via a transmitter-receiver pair, and captures clean audio regardless of distance.
The difference is dramatic. Even a $50 microphone provides a massive improvement over the built-in mic. If you watch YouTube videos, the first thing that separates professionals from amateurs isn’t the image — it’s the audio.
Best Wireless Microphones for iPhone in 2026
1. Rode Wireless GO III
The top choice in this category. 2 transmitters + 1 receiver with USB-C. Internal 32-bit float recording (impossible to clip!), 7+ hours battery life, 260m range. Plugs directly into iPhone via USB-C or Lightning adapter.
The GO III is the evolution of the best-selling GO II, with improved audio, smaller transmitters, and the upgraded Rode Central app for full control. Ideal for interviews, vlogs, outdoor podcasts, and journalism. The two transmitters let you record two people simultaneously on separate channels.
Price: around $300 - $350
2. DJI Mic 2
Rode’s main competitor. 2 transmitters with a charging case (like AirPods — they charge inside the case!), 32-bit float recording, built-in noise cancellation, and excellent audio quality. Comes with Lightning and USB-C adapters.
DJI’s advantage: the charging case. No separate charging cables needed — drop the transmitters in the case and they charge. The case provides 18+ hours of total battery life. Ideal if you shoot many takes across full-day sessions.
Price: around $280 - $330
3. Hollyland Lark M2
Sleek, lightweight, and impressively affordable. 2 transmitters + charging case, noise cancellation, 8+ hours battery, 300m range. Exceptional value — nearly half the price of Rode/DJI.
The Hollyland surprises with its audio quality. For 95% of users recording for social media and YouTube, the quality is indistinguishable from the more expensive models. The noise cancellation in noisy environments is particularly impressive.
📖 Read more: Live Activities iPhone: Complete Usage Guide
Price: around $100 - $140
4. Rode Wireless ME
An affordable entry into the Rode ecosystem. 1 transmitter + 1 receiver, simple USB-C or Lightning connection, 7 hours battery, 200m range, Intelligent GainAssist that automatically adjusts levels. Ideal for beginner content creators who want plug-and-play audio.
Price: around $90 - $120
5. BOYA BY-WM4 Pro
The budget option for those starting out. Solid audio for the price, 100m range, iPhone compatible with adapter. If your budget is limited, this is still far better than the built-in iPhone mic.
Price: around $50 - $70
What Is 32-bit Float Recording?
32-bit float is the biggest innovation in wireless mics in recent years. It records audio with massive dynamic range (~1,500 dB theoretically), meaning it’s virtually impossible to clip (distort from excessive volume).
In practice: if someone suddenly shouts near the mic, or you speak very quietly, the 32-bit float captures the audio without distortion or noise. In post-production, you can raise or lower the volume without any quality loss.
This eliminates the need for gain setting before recording — a problem that plagued content creators for years. Just press Record and the audio will be perfect.
Lavalier vs Shotgun: Which Type Do You Need?
Lavalier (clip-on) microphones are ideal for on-camera talking, interviews, vlogs, and podcasts. They clip near your mouth and capture clean voice regardless of ambient noise.
Shotgun microphones (mounted on the iPhone or a tripod) work better for run-and-gun shooting, documentaries, and scenes where you don’t want a visible mic. However, you need to be within 30-60cm — further away and they lose effectiveness.
📖 Read more: NFC iPhone 2026: New Unlocked Capabilities
For most iPhone users, wireless lavalier mics are the right choice. They give the most freedom of movement and the most consistent audio.
Connecting to iPhone: USB-C vs Lightning
iPhone 15 and newer use USB-C, making connection simple — plug the receiver into the USB-C port and start recording. Most modern mics (Rode, DJI, Hollyland) ship with a USB-C receiver.
For older iPhones with Lightning (iPhone 14 and earlier), you’ll need an adapter. Apple sells the Lightning to USB Camera Adapter (~$29) or you can get the dedicated Rode SC15 Lightning cable (~$15). DJI Mic 2 includes a Lightning adapter in the box.
Important: the iPhone Camera app automatically uses the external mic when connected. No settings needed — plug and record. For more control (monitoring, gain, recording format), use apps like Rode Reporter, FiLMiC Pro, or ProMovie Recorder.
Recording Apps for iPhone
The built-in Camera app works fine, but for professional control try:
- FiLMiC Pro: Full video + audio control, manual settings, audio monitoring with headphones
- Rode Reporter: Free app, optimized for Rode mics, lossless recording, markers
- ProMovie Recorder: Manual audio levels, live meters, LOG recording
- Voice Memos (Apple): For podcasts and voice-over — simple but effective
7 Tips for Better Audio
- Position correctly: The mic should be 15-20cm from your mouth, on the collar or lapel, with the windscreen attached
- Use a windscreen: Outdoors, wind is the worst enemy. Even a light breeze sounds terrible without a windscreen
- Test recording: Always do a 10-second test before the final take — listen back with headphones
- Avoid noisy environments: AC units, refrigerators, traffic — if possible, turn them off or move away
- Enable internal recording: Many mics (Rode, DJI) record backup audio on the transmitter. If the wireless connection drops, you still have the data
- Monitor with headphones: Connect headphones to the receiver or iPhone to hear real-time what’s being recorded
- Charge before every shoot: Don’t rely on yesterday’s charge. Charge to 100% every time
Which One Should You Choose?
- For professionals: Rode Wireless GO III or DJI Mic 2
- For best value: Hollyland Lark M2
- For beginners: Rode Wireless ME
- For tight budgets: BOYA BY-WM4 Pro