

📖 Read more: Camera Control iPhone: Complete Button Guide
🎨 What Are Photographic Styles?
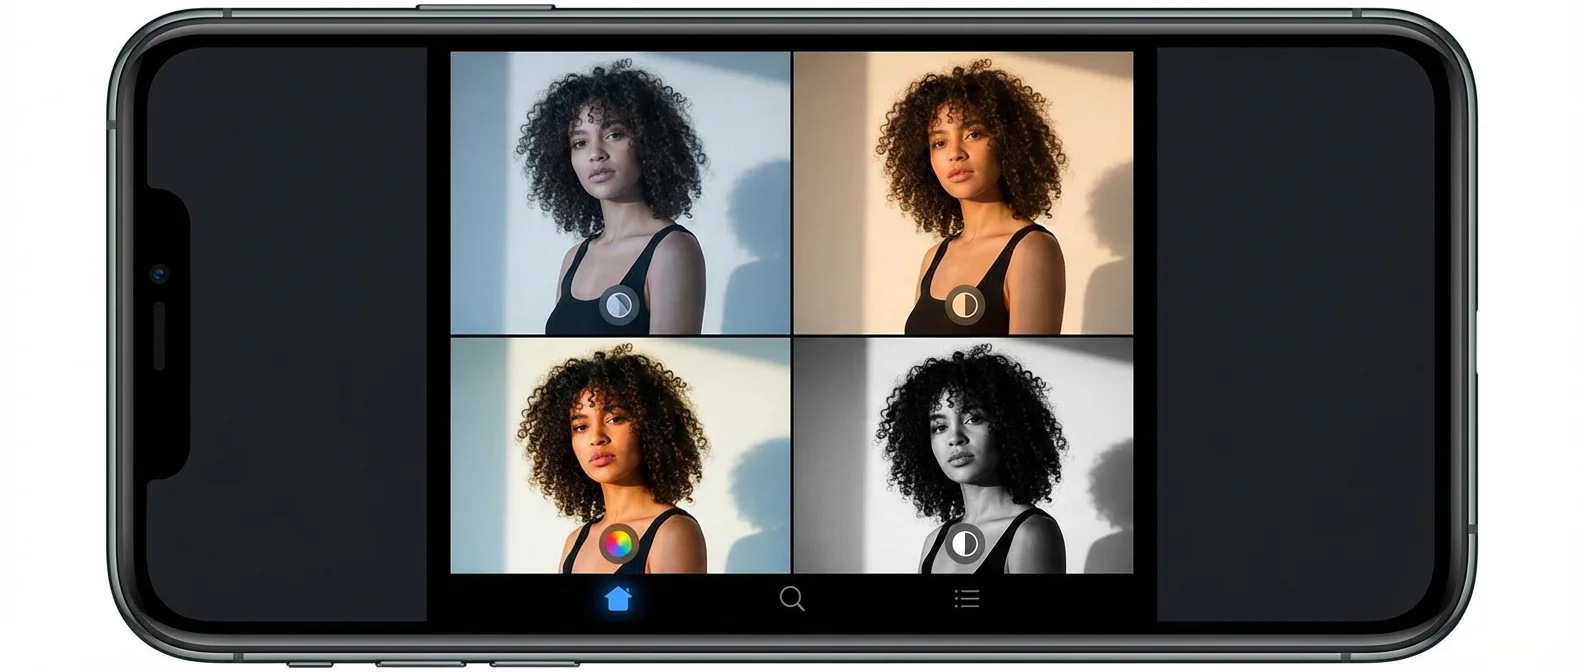
Photographic Styles are a system for applying tone and color adjustments at the moment of capture. Unlike traditional filters that uniformly alter the entire image, Apple uses machine learning to identify skin tones, skies, and other elements, applying adjustments selectively. The result is a photo that looks natural but carries your personal aesthetic signature.
🖼️ All 15 Styles on iPhone 16
On iPhone 13 through 15, there were only 4 Photographic Styles: Rich Contrast, Vibrant, Warm, and Cool. With iPhone 16, Apple added a host of new options divided into two categories:
📖 Read more: iPhone 17 Pro: 10 Tips for Professional Photography
Skin Undertone Styles
The first five styles are designed specifically for skin tones. These are subtle and elegant — they primarily adjust the skin's undertone without disrupting the rest of the color palette:
- Cool Rose — accentuates cool pinkish undertones
- Neutral — neutralizes warm undertones for a more balanced rendering
- Amber — adds a warm amber cast
- Rose Gold — rosy golden tones, ideal for portraits
- Gold — golden warmth, like natural golden hour light
Mood Styles
The remaining styles affect the overall mood and atmosphere of your image more dramatically:
- Standard — no changes applied, the camera's baseline rendering
- Vibrant — lively, saturated colors without looking artificial
- Natural — realistic rendering with slightly warm tones
- Luminous — bright, airy results
- Dramatic — deep shadows and strong contrast
- Quiet — soft, muted tones
- Cozy — warm, inviting atmosphere
- Ethereal — dreamy, almost otherworldly look
- Muted Black and White — softer grayscale with gentle grays
- Stark Black and White — high-contrast monochrome
📖 Read more: Center Stage on iPhone 17: How It Transforms Group Selfies
🎛️ How the Control Pad Works
Each Photographic Style is controlled by three parameters: Tone (brightness), Color (saturation), and Palette (effect intensity). On the control pad, the horizontal axis adjusts Color — drag left to desaturate, right to deepen colors. The vertical axis adjusts Tone — drag up for brighter, down for darker. The slider below controls overall intensity (Palette).
Setting Tone = 0, Color = 0, and Palette = 0 gives you a “Standard” photo with no effects applied — an ideal starting point for understanding exactly what each parameter changes.
📖 Read more: Cinematic Mode iPhone: Filmmaking Guide
📱 Setup and Usage
For initial setup, go to Settings → Camera → Photographic Styles. Once you've taken at least 4 photos, you'll see the skin undertone options applied to your own real samples. Pick your favorite undertone, adjust the intensity, and it becomes your default for every shot.
While shooting, tap the touchpad icon in the viewfinder to switch styles in real time. Swipe left or right to browse styles and use the on-screen controls for fine-tuning before pressing the shutter.
📖 Read more: iPhone in Space: NASA Allowed iPhones on Missions
✏️ Editing After Capture
A major iPhone 16 innovation is the ability to change Photographic Styles after capture. On older models, styles were applied only at the moment of shooting and couldn't be reversed. Now, you can open a photo in the Photos app, tap the three bars to enter editing mode, then tap “Styles” to change or fine-tune any style. The edit is non-destructive — you can always revert to Standard.
⚠️ Important Things to Know
- HEIF Only: If your camera is set to JPG (Most Compatible), Photographic Styles won't work. Go to Settings → Camera → Formats and select “High Efficiency” (HEIF).
- Preserve Settings: By default, if you change a style during a session, it resets when you close the Camera app. To keep your last-used style, go to Settings → Camera → Preserve Settings and toggle on Photographic Style.
- Older iPhones: The iPhone 13–15 only have 4 styles with no touchpad or post-capture editing. However, if you take a photo on iPhone 16 and edit it on an older model, the control pad still appears.